Starting a planted aquarium
Categories:
Aquarium

A new aquarium is always an exciting project and having kept Tropical fish and Marine Aquariums for many years I needed something new to try. A planted aquarium was the obvious choice for me as something I had never really attempted seriously. The following details some of the considerations I made when setting up the aquarium.
Tank Size: 60 x 50 x 45
Volume: 140 litres
Lighting: Arcadia Luminaire 4 x 24 watt T5 Plant lamps
Filtration: External canister filter
Co2 supply: Pressurized JBL system with Ph controller
Heating: External (in filter) and Red Sea Root therm substrate heating
Substrate: Red Sea Flora Base
Once the Aquarium was in place and the equipment installed I had to decide on a suitable substrate. When choosing a substrate for the planted aquarium we need to ensure we provide something that will provide a regular supply of the minerals and Organic substances necessary to the vitality of the plants. It is possible to enrich regular substrates like natural gravels by adding root fertilizer tabs this is a good option for established aquaria. Substrates can also be enriched with the use of laterite clay however as this was a new aquarium I decided to use a specialist plant substrate. Red Sea Flora base is of a soft, porous, granular structure which could be easily penetrated by the plants roots it also provides all the essential nutrients required by plants for proper development. An under gravel heater cable would generate a gentle heat around the roots which in turn would induce water circulation through the substrate providing the roots with a constant supply of nutrients.
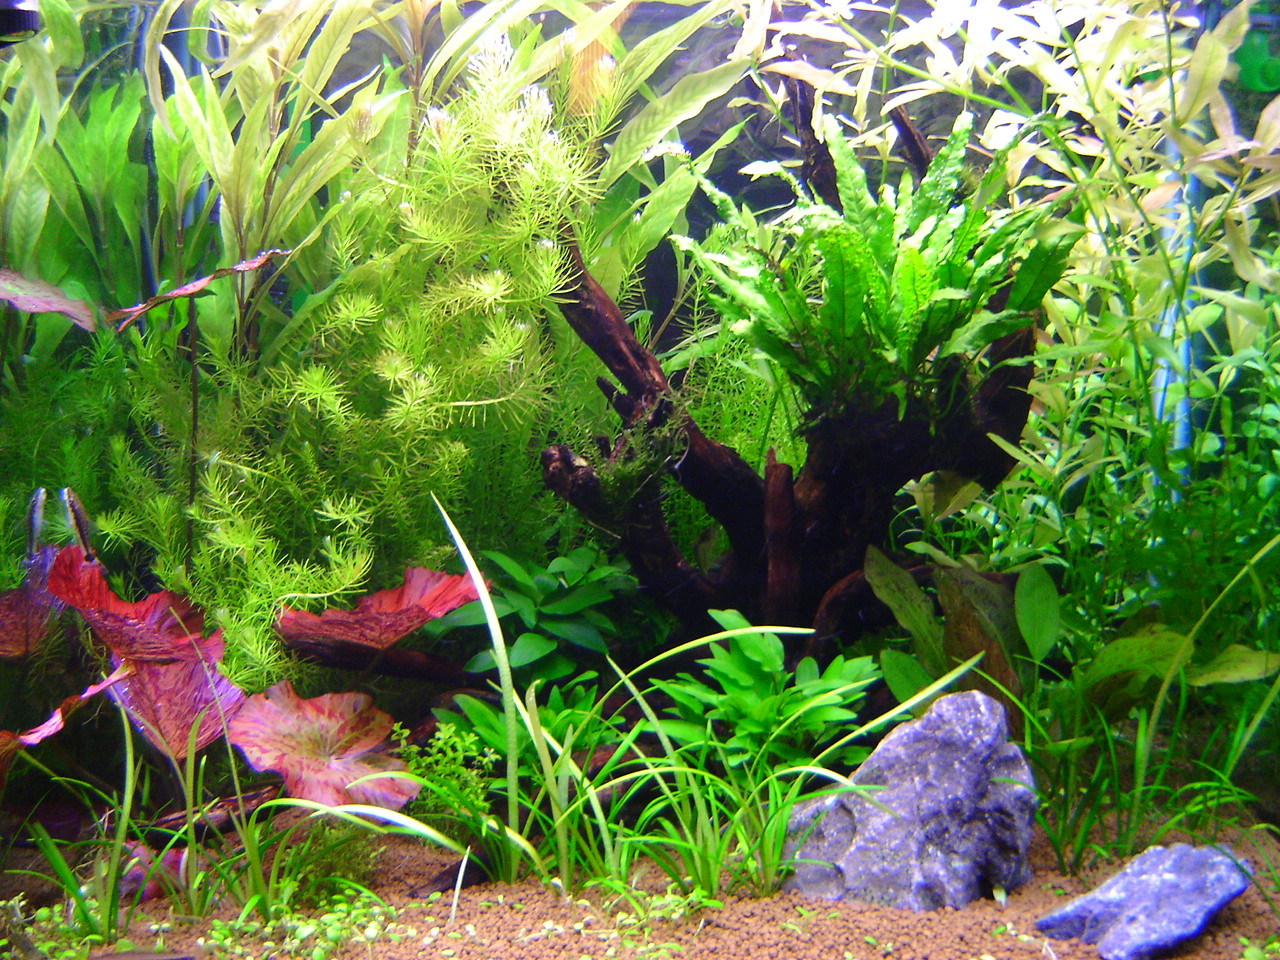
With the substrate in place it was time to consider aquascaping. For a nature aquarium it would be wise to choose natural looking decor i.e. rocks and wood. I used 2 pieces of Sumatra wood tied together to create an aesthetically pleasing focal point. You may wish to use just rocks or a combination.
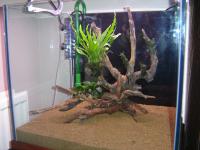 Day 1:
Planting: Planting is easier in a partially filled aquarium and I intended to plant heavily from the start. I began by attaching some Java Moss (Versicularia Dubyana) and Java fern (Microsorium Pteropus) to the wood. I then continued to plant a mixture of long stemmed and foreground species. The Fast growing long Stemmed plants (Hygrophlia/Rotala) would assist early on in the removal of excess nutrients due to new aquarium cycling.
Day 4:
Co2: In nature Co2 is plentiful due to a multitude of biological processes. In the aquarium however this Co2 is quickly depleted and the addition of Co2 becomes vital for vigorous and healthy plant growth especially so in heavily planted aquaria. Adding Co2 to the aquarium will have an effect on the Ph of the water therefore Ph should be monitored closely. It is wise to switch Co2 off at night when plants are not using it to prevent the Ph decreasing too far. Co2 can be added via a Yeast based Reactor which is simply a canister containing yeast, Sugar and a stabilizer. A natural Fermentation process produces Co2 which is dissolved into the aquarium via a diffuser. Hagen and Red Sea both supply Yeast based reactors and these have provided good results. For a little more control Pressurized systems are a much better. A pressurized bottle of Co2 with a pressure regulator and needle valve attached means fine adjustments can be made to the amount of Co2 being released into the aquarium, when used in conjunction with a solenoid valve Co2 can be switched off at night via a plug in timer. The ultimate in control is achieved with a Ph controller which ensures a constant stable Ph. In the planted aquarium as a guideline we should be aiming for a Co2 level of between 10 and 25ppm, levels in excess of 25ppm may be harmful to your fish! Begin by adding Co2 at a rate of one bubble per second. Kh is also very important as introducing Co2 to an aquarium with too low a Kh will cause the ph to swing dramatically, Kh should be monitored with a reliable test kit.
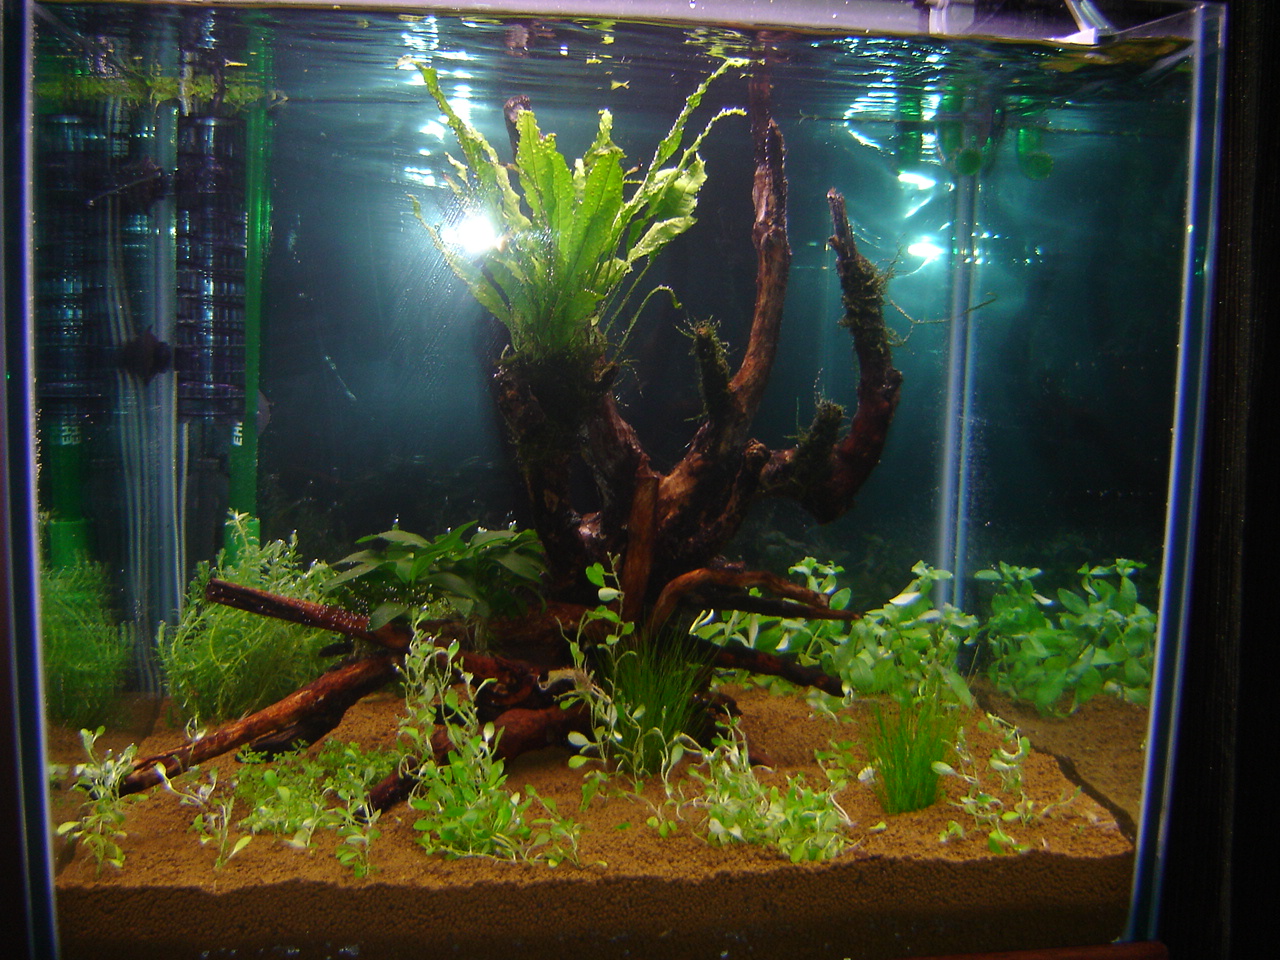
Day 14:
Lighting: Plants require light in order to photosynthesize. Some plants require more light than others however even those that are not too demanding with regards to light flourish in brightly lit aquaria. Lighting can be assessed by calculating the WPG (watts per gallon) simply add up the total wattage of fluorescent tubes then divide by tank volume in gallons. For example 4 x 24 watt = 96 / 30 gallons =3.2WPG. This can be used as a rough guide to assessing the lighting. Below is a guideline to lighting levels.
- 0 to 1 WPG Very low
- 1 to 2 WPG Low to medium
- 2 to 3 WPG Medium to Medium High
- 3 to 4 WPG Medium High to High
- Over 4 WPG High to very High
(calculated using US gallons!)
Levels of light of 2WPG and above will necessitate the addition of Co2. Higher light levels may require Co2 levels are maintained as high as 25-30ppm!!
Photoperiod should be 8 - 12 hours and there is some argument for a break in lighting of up to 1 hour midday to help prevent the build up of algae growth!
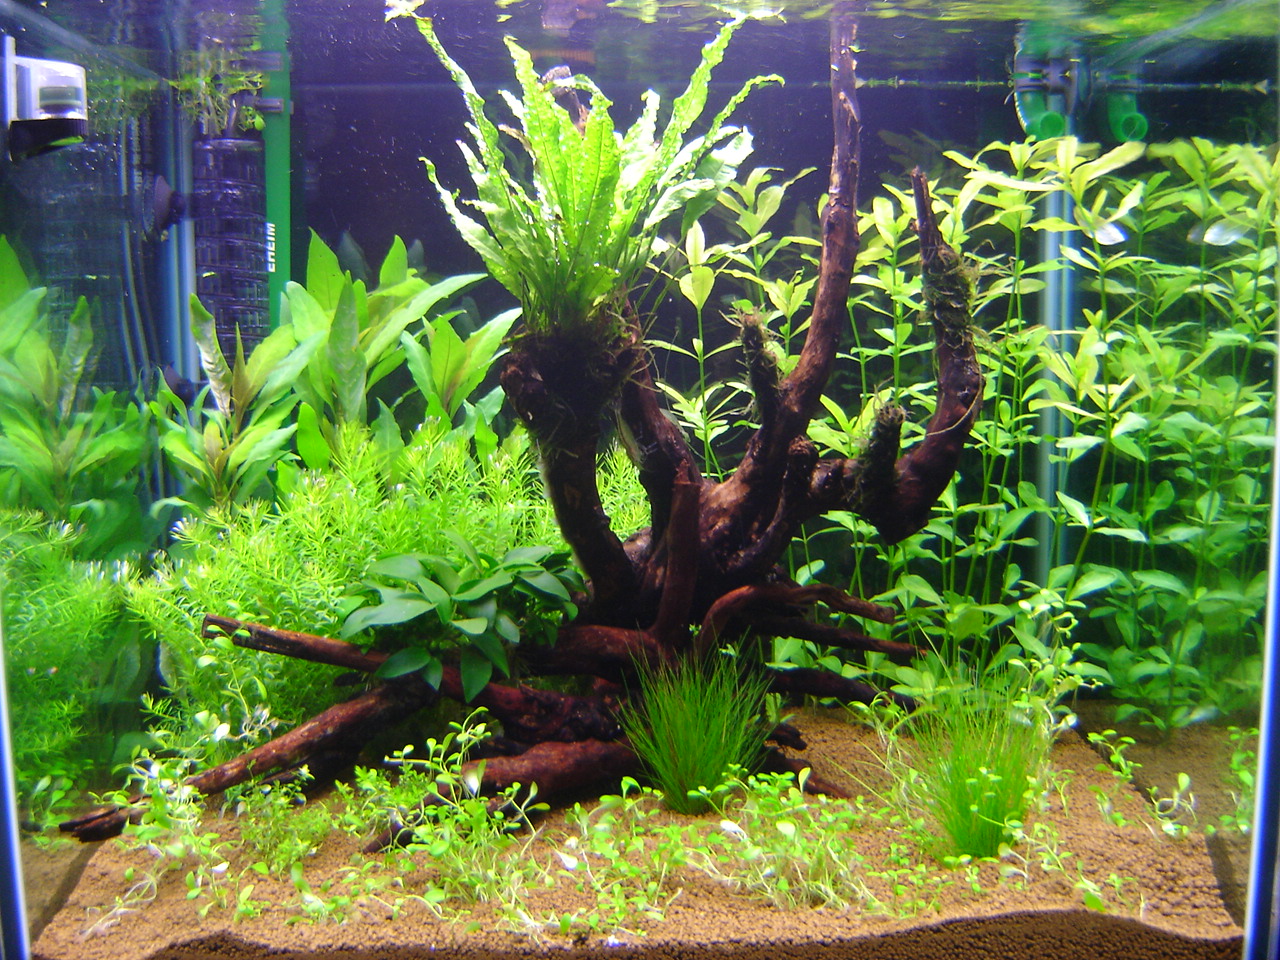
Day 17:
With all of these factors taken into consideration and set in place the plants have grown to fill the tank in no time at all. All but the delicate foreground plants had established themselves within days. Water changes were performed regularly in order to reduce the initial excess nutrients caused by the tanks cycling and some algae eaters are introduced (Japonica Shrimps and Ottocinclus). Thereafter it is essential to provided Nutrients to the plants in the form of a liquid plant food E.g. Hagen Plant Grow, Red Sea Flora Gro Etc.
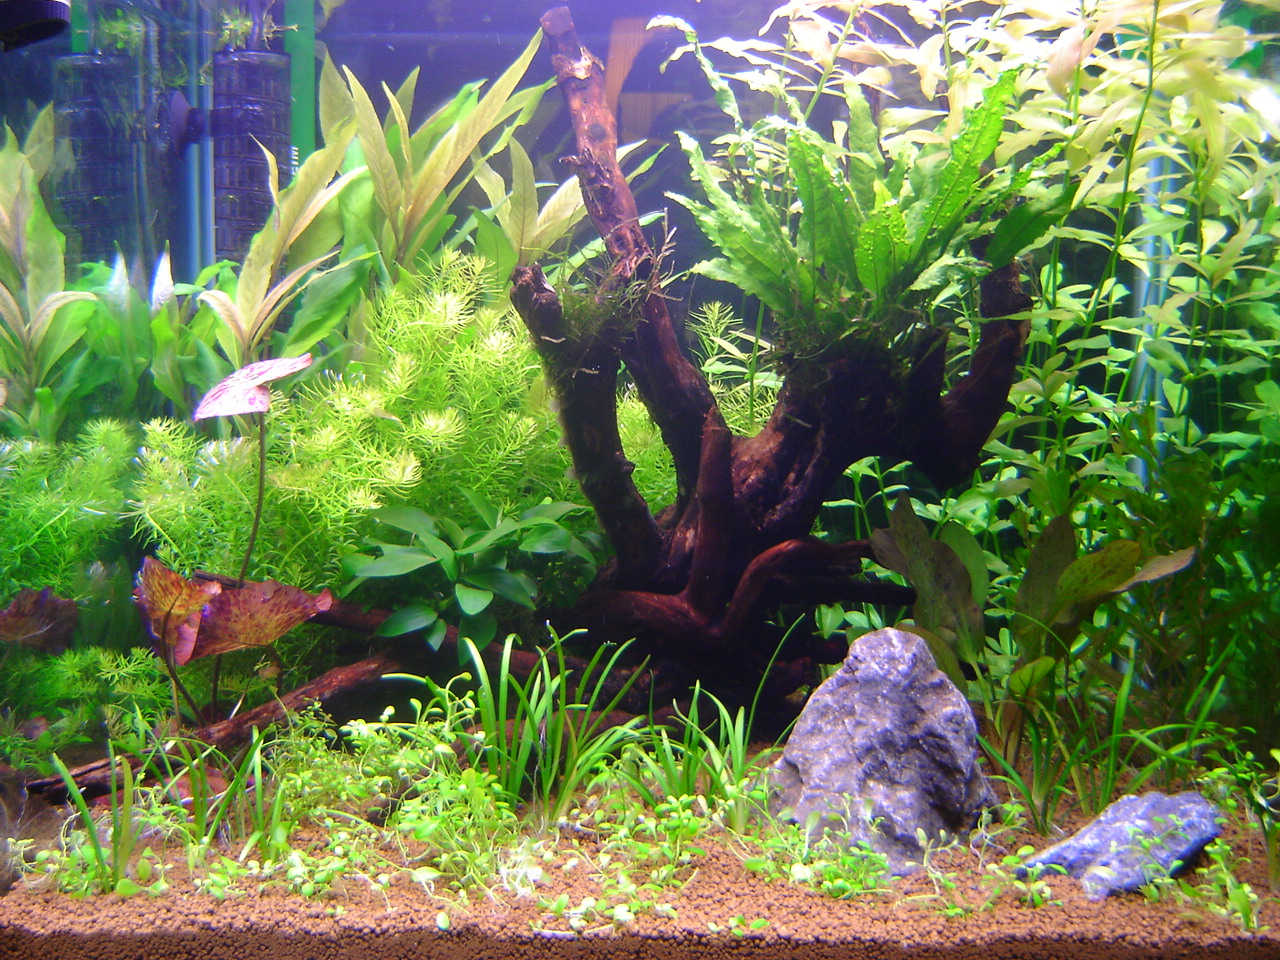 Day 19:
At the time of writing this article my aquarium has been running for about 3 weeks and I have already had to begin pruning of the taller plants. I look forward to adding some fish and hopefully growing a nice carpet of foreground plants!
If this has inspired you to set up a planted aquarium of your own please visit your local Branch of Maidenhead aquatics where we will be happy to assist you with advice equipment and plants.
Categories
Aquarium


